Showing posts with label Food. Show all posts

Wednesday, March 26, 2014

Summer Special | Banana Gulkand Milkshake

With the temperature soaring, I have given up on my evening cup of tea. It becomes impossible to enjoy anything hot even in the evening. So my cuppa chai is replaced by milkshakes now. Since bananas are a staple in my fruit basket and since they taste great in milkshakes, i find myself making banana milkshakes oh-so-often. The latest twist to the milkshake is from the addition of gulkand to it and it tastes out of the world.

The milkshake utilizes just two main ingredients other than milk- sliced bananas and gulkand.
banana gulkand milkshake ingredients


I don't add ice cubes to the milkshake. I normally set aside 2-3 glasses of boiled milk in the fridge these days specifically for milk shakes. I don't like the milkshake too thick, so I water it down sometimes too, since the bananas already add a lot of body and thickness to the milkshake.

Gulkand is a welcome addition since it adds a whole new taste to the milkshake and prevents the need to add extra sugar. Gulkand is made from rose petals and sugar and is an ayurvedic remedy to cool down the body during summer. It regulates the body temperature, alleviates constipation and acidity and soothes any kind of inflammation in your digestive tract. What more do you need to cool yourself down this summer?! Onto the recipe now.

Preparation Time - 3 Minutes
Cooking Time - Nil
Serves - 2

Ingredients for Banana Gulkand Milkshake  

1 Banana sliced ( I use the large robusta variety, use 2 if using yelakki) 
1 and 1/2 tsp Gulkand 
1 glass chilled Milk 
1/2 glass water (skip if you like a thick shake)

Method to prepare Banana Gulkand Milkshake 

Simply add the banana and gulkand in a blender with a little bit of milk. Whizz for a minute to make a smooth paste. Add the milk and the water to this and mix well. Serve immediately. You can pair it with you breakfast or like me use it for an energy boost in the evening. 

banana gulkand milkshake

Monday, March 10, 2014

Summer Special | Beetroot Raita


The summer is upon us and for once I am not really craving for anything hot and spicy or fried to eat in the evenings. A few slices of cucumber or a bowl of watermelon gives me way too much more happiness than what a plate of pakoras can give. I know it is only for the time being and when the Mumbai monsoon unleashes its wrath, I will be back to making hot and spicy food items to satiate the food cravings while watching the rain. For now, am making light food items on a daily basis - things that are packed with cooling vegetables, with lots of fiber and water. As I drew up this week's menu, I figured that I might as well start off a series of the summer recipes that I am making these days to keep the body cool meal after meal. Kickstarting the series is a favorite - beet root raita. I normally make it with leftover beet root poriyal. This time, I made it from scratch I added fresh beets mixed with leftover onion-red chili chutney. It so happens that there is always 2-3 spoons of chutney that remains after breakfast, which certainly is not enough for another meal. So I always add leftover chutney into a raita rather than adding ground or grated coconut. It takes ten minutes to make this velvety pink raita and tastes out of the world.
beetroot raita


Preparation Time: 10 Mins
Cooking Time: 10 Mins

Ingredients to make the Beetroot Raita


1 large beetroot or two small ones, finely chopped/ grated
1 red chili
1 cup beaten curd
1/2 onion finely chopped
salt and sugar to taste
fresh coriander leaves for garnish
Grated coconut - i used leftover chutney
1 tsp oil
1/2 tsp mustard
1/2 tsp urad dal
a pinch of hing

Method to make the Beetroot Raita

Wash and clean the beets. Peel them and run them in a food processor with a red chili or finely grate them.

chopped beetroot

In a pan, heat the oil and add mustard and wait until it splutters. Now top with the urad dal, hing and red chili ( if not added into beetroot) and roast for a minute. Add the beets to this and fry well. Sprinkle some water onto this and let it cook. It takes about five minutes tops.

frying beetroot


While this is frying, beat the curd and add the chopped raw onions to it.
curd with onions

Season the curd with some salt and sugar. Add salt to the beetroot as well.
You need to add lots of fresh coriander into this or any raita to add a lot of freshness and flavor into the dish.
fresh coriander

Now if you are using fresh coconut, you could grate it or whizz it in the mixie with the red chilli and add it to the raita. I had my leftover onion chutney which had onion, coconut, tamarind and red chillies.
red chutney
Now all i did was to let the beets cool. I mixed the beets with the curd, added in the chutney to it, adjusted the salt and garnished it with the coriander leaves!

beetroot raita

You can serve the raita with both rice and roti. You could eliminate the onions if you don't like the smell of raw onions , but trust me, that's what adds the extra taste to it! It is simple to make and really cool on the stomach. What's more, in ten minutes, you have an extra dish on the table! 

Wednesday, February 5, 2014

Lemon Ginger Rasam

There are days when you  have a heavy evening snack and don't really feel like cooking or eating anything heavy for the night. On such days, we do not just settle for good old thayir sadam ( rice and curds), but also have this light and refreshing lemon ginger rasam alongside. The fresh flavors from both the lemon and ginger make it really appetizing even during times when you are feeling under the weather. Instead of garnishing the rasam with coriander leaves, I add the coriander stalks from the "hybrid dhania" that we get here.
hybrid coriander

The stalks are not tender enough to use in curries or gravies. But it can be used in this rasam since it will be crushed in the mortar. The lemon ginger rasam is really light on the stomach and the juices of lemon, coriander and ginger will help you digest your food much better. What's more, it is so easy to rustle up that it figures on my menu at least once in a week!
lemon ginger rasam

To make the rasam, I do not use too much of toor dal. Instead, I use more of the toor dal water. So what I do is that I pressure cook a cup of toor dal with a pinch of turmeric. Then pour 1 and half cups of water into the dal container and give it a swish. Then remove the water separately, along with two tsp of the cooked toor dal. I reserve the rest of the toor dal to make dal the same day. Or it keeps well in the fridge for a week, you can use it on any day you are making a dal or sambar. Once you have this dal water mixture, it takes just five minutes to put together this rasam. Lets see how. 

Preparation Time: 5 Minutes
Cooking Time: 15 Minutes

Ingredients of Lemon Ginger Rasam 

1 and 1/2 cups toor dal water 
2 tsp of cooked toor dal 
1 green chilli, slit lengthwise
1 inch ginger grated or chopped
juice from 1/2 lemon 
2 tsp of chopped coriander stalk
salt and sugar to taste
oil for tempering
4-5 curry leaves
1/2 tsp mustard 
1/2 tsp cumin seeds or jeera
a pinch of asafetida

Method to prepare Lemon Ginger Rasam


Cook about a cup of toor dal and add a cup and half of water to it. Now gently swish the water with a ladle and separate it out from the dal. Take two tsp of the cooked dal and mash it well. Add it to the dal water and set it aside.
toor dal water

In a mortar, crush the ginger and coriander stalk together coarsely.
ginger coriander lemon

Now bring one cup of water to a boil on medium flame. Slit a green chilli and add it to the water, along with the coriander-ginger paste.
boiling rasam


Once it comes to a rolling boil, add the toor dal and water mixture. Add to it salt and sugar to taste. This is a sweet-sour rasam, hence the need for the sugar. Also, sugar enhances the flavor of ginger.
rasam with lemon and ginger


Prepare the tempering by heating oil, add to it the asafetida and mustard. Once the mustard starts crackling, add the curry leaves and jeera. If you like your rasam spicy, you can add some coarsely powdered pepper to the tempering. 
Now pour the tempering on the rasam. Turn off the heat. Adjust the salt and squeeze in the juice of half a lemon into it. 
lemon ginger rasam

That is about it! Enjoy it with steaming hot rice or drink as is as a soup. It is refreshing and light on the stomach. 


Monday, January 20, 2014

Bengali moong dal | Bhaja Muger Dal

Ever since the Bengali Cholar Dal from Dassana's blog was declared a hit at the dinner table, I have been on the lookout for other similar Bengali dishes to break the monotony of the regular tried and tested dals. That's when I chanced upon the Bhaja Muger Dal. This Bengali Moong Dal recipe makes use of fried moong dal. Bhaja in Bengali means "fried". Moong dal is much easier to digest in the night, compared to the channa dal in Cholar Dal, making it a winning combination with roti for dinner. So if you are bored of the regular dal fry or dal tadka and want to try something new, then Bhaja Muger Dal is an excellent option.
After trawling a few bengali cooking websites, I found that the tempering was similar to the cholar dal. So I decided to follow Dassana's recipe itself. It's just got a handful of ingredients going into it. What's more, it is really simple to make and has its distinct taste that comes from the roasting and the tempering.
Bengali Moong Dal

So how does one make the Bhaja Muger Dal ? Here's how.

Preparation Time: 5 minutes
Cooking Time: 30 Minutes
Serves: 4

Ingredients for the Bhaja Muger Dal

1 cup of Moong Dal
2 tbsp ghee / clarified butter
1 bay leaf
1 pod cardamom
2 dry red chillies ( I used the byadgi variety)
1 inch cinnamon stick
2 cloves
1/2 tsp jeera / cumin seeds
A large pinch of turmeric powder
A large pinch of asafetida (optional)
1 inch ginger grated
Salt to taste
Sugar to taste

How to make Bhaja Muger Dal

In a wide pan, add a tbsp of ghee and roast the moong dal in it, till it imparts a nice aroma. This will take about ten minutes. Do not let the dal burn or brown. So that means, giving ten minutes of your undivided attention to the dal, since once this is done, you are pretty much set with your dal. 
Now pressure cook the dal with enough water in a pressure cooker. I cook for two whistles on low flame and then a third on high. It takes about ten minutes to cook a cup of dal.
bhaja muger dal tempering

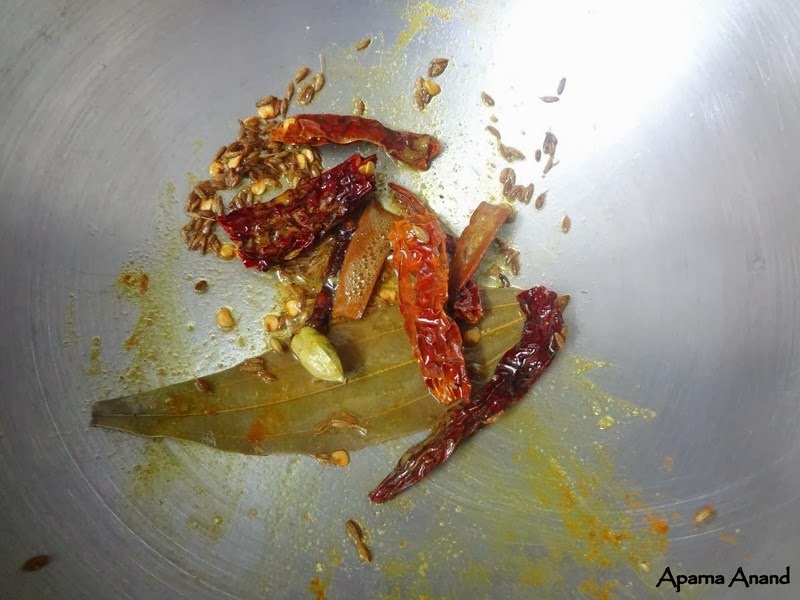
While the pressure in the cooker subsides, you can get started with the tempering. Heat the remaining ghee in a pan and throw in the cloves, cardamom, cinnamon and bay leaf into it. Once their fragrance starts wafting out, add in the rest of the dry spices - jeera, chillies, turmeric and hing. Fry for a minute.
bhaja muger dal tadka

Now top this with the cooked dal. Season with salt and a little bit of sugar. Grate in about an inch of ginger into it. Of late, I have started adding the ginger towards the end of the cooking rather than the beginning. That way, the ginger does not get stuck to the bottom of the pan and its fresh taste is more prominent in the dish.
bhaja muger dal

Simmer for five minutes. Given the presence of spices like cardamom and cinnamon, this dal tends to be a little on the sweeter side. You can up the hotness of the dal by increasing the number of chillies going into it. 
Once all the flavors come together, turn off the gas and serve it hot with phulkas or rice. I served it with methi rotis and a carrot-ridge gourd sabzi on the side. 
bhaja muger dal dinner


Tuesday, September 24, 2013

How to make Pizza Sauce | Home Made Pizza Sauce

I somehow cannot get myself to call in for pizza delivery on a lazy day. One, those pizzas are loaded with cheese, somehow, eating them leaves you really stuffed and heavy, they come nowhere as close in satisfaction levels as home made pizza and most importantly, why on earth do they charge a bomb for something that doesnt cost so much to put together!
So I mostly make the pizza at home and it turns out real good! I was resorting to store bought pizza sauces for quite some time now until i realised how easy it is to whip up a really tasty pizza sauce. You can make it in bulk and store it up for a week's use, using it for your pizza and pasta. Or make a small batch and use it up the same day! Complete satisfaction from knowing whats in the sauce and totally free from preservatives!

Preparation Time: 10 Mins
Cooking Time: 10 Mins
Difficulty: Easy!
Serves: Two medium pizzas
Ingredients:

3 Large Ripe tomatoes
4-5 pods of garlic, sliced
2 tbs Olive oil
Salt to taste
1.2 tsp sugar
1/2 tsp pepper powder
1/2 tsp herb seasoning- oregano, basil, thyme and onion flakes


Method: 

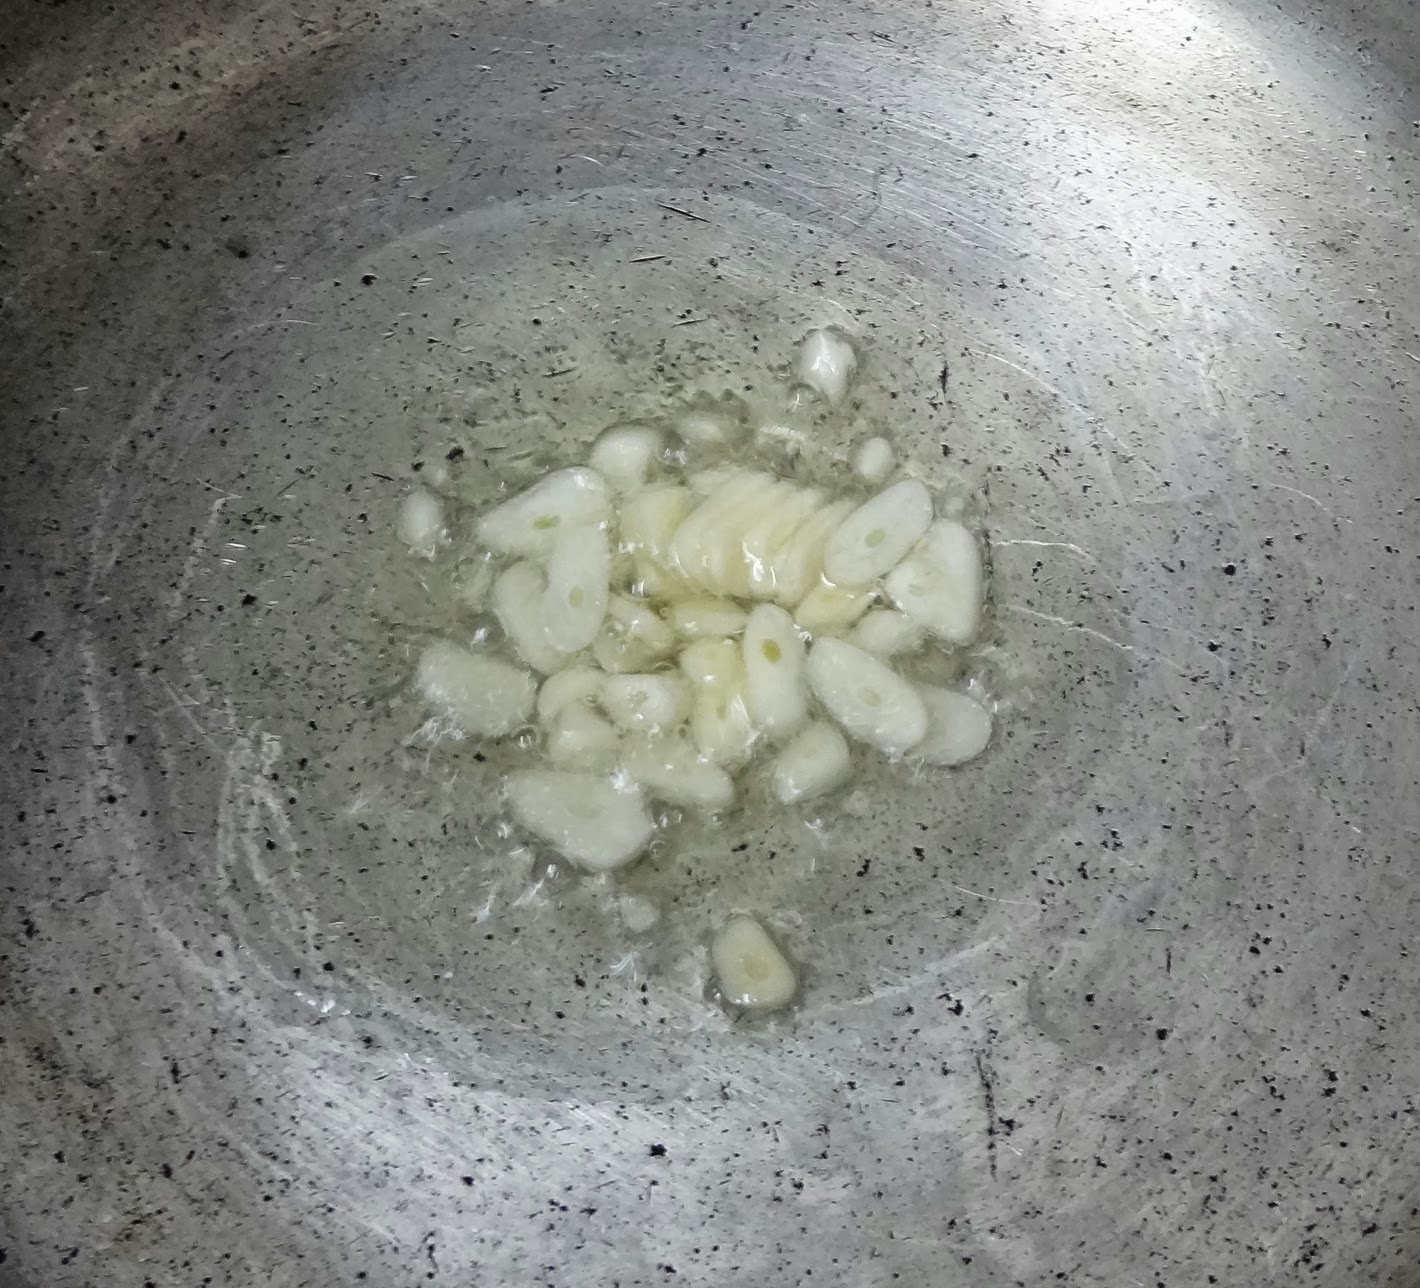
In a pan, heat the olive oil and add the galic flakes and fry them till they brown.


Puree the tomatoes in a mixer. I don't go about straining them. It simply reduces quantity of the sauce. 


Add the tomato puree to the fried garlic. Allow it to simmer and cook.

 Cover and cook for about ten minutes until the quantity is halved. At this point, add the spices and saute it for a minute or two until all the spices come together. Check the seasoning and adjust as per your taste.

I had a sterilized bottle ready to put this gorgeous red sauce in and wanted to admire it in the fridge. But there was just enough sauce to make two medium pizzas that i used up immediately!


Thursday, September 19, 2013

Pumpkin Palak Soup | Pumpkin and Spinach Soup

There has been an overdose of fall pictures and gorgeous looking pumpkin recipes on the internet in the past few days. After ogling at them on pinterest for some time, yours truly ordered pumpkin from bigbasket in the week's grocery, with an intention of making some muffins with them. They got stowed into the back of the fridge and lay forgotten there for a while.
One fine evening, when it was pouring as usual and i felt the need for a warm soup and rummaged through my vegetable box, i found the pumpkin and some spinach side by side. The spinach had to be used up and i was tired of making greens stir fry or dal for three days in a row. And so it was decided that the greens would go into a soup and it would be pumpkin and spinach soup for the night.
There is a mild sweetness that comes from the pumpkin in this soup which is balanced by adding some chilli flakes or red chilli powder. To enhance the flavors, i have used some jeera powder.
I have used a pressure cooker to speed up the process- saute the ingredients in it, pressure cook and dunk the hand blender into the same cooker and puree- it is as simple as it can get!

Preparation time: 10 mins
Cooking time: 20 mins
Serves: 2 Level: Easy

Ingredients:

1 onion sliced
1" ginger sliced
1 cup of chopped pumkin
1 cup of chopped spinach
salt to taste
1 tsp red chilli powder
1/2 tsp cumin powder
1/2 tsp of mixed herbs (thyme, rosemary and oregano)
a dollop of butter or some cream for topping

Method: 

Wash and chop the vegetables that are going into the soup.
 In a pressure cooker, add some butter and saute the onion and ginger in it.

Now add the pumpkin and fry for a few minutes after which you add in the spinach.
Season with salt and chilli powder. Fry until the vegetables are evenly coated in the spices.
Add a cup of water to the cooker and cook for 2-3 whistles on low flame.

Once the mixture cools down, blend it well. I do not strain the mixture. I like to get small bits of veggies in the soup. Now thin it down a little if you want it watery. Add the cumin powder. Adjust the salt. Bring the soup to a boil.
Top it with some butter or cream and season with mixed herbs.
Mix well. Pour into your soup bowls. Serve warm with some toasted bread or roasted papad.

Tuesday, August 27, 2013

Cold Coffee with Ice Cream

I have not been so much of a cold coffee/ heavy chilled drinks person.It is maybe the chai effect that i never got around to making coffee in any form.  The last week we had cold coffee at a cafe, all i was thinking was that this is such a simple thing to make. And that it can be easily whipped up, sans all that overdose of ice. Some people prefer all of that ice. But i feel that so much ice dilutes the milky effect of the drink.
I had some vanilla ice cream in the freezer and with the sun looking up, it seemed like the perfect time for a cold drink. Like i said, i did not add the ice to the cold coffee. I chilled the milk enough for the drink to be cold, but not to the extent of numbing the palette and inducing a brain freeze.
It takes just five minutes to put together the drink if you have all the ingredients at hand. Here is how i made it.
Cooking Time: 10 Mins
Preparation Time: 20 Minutes
Serves: 2

Ingredients:

2 cups Milk
3 scoops of vanilla ice cream
3 tsp of sugar
2 tsp instant coffee powder
half cup of water
1/2 inch cinnamon
1 tsp of cocoa powder

The ice cream is mostly filled with air. So it does not really add to the quantity of the drink much. I used two tall glasses that i picked up from hypercity. They come with different colored stripes and are currently trending on the dining table.


My measuring cup with milk fills the glass upto 3/4th its brim. The rest is taken care of by the ice cream and the decoction.

Method:

Boil the milk. Add the sugar to it and stir well.

Once it slightly cools down, put the milk in the fridge to chill. Put the glasses that you are going to use into the freezer. This might take about half hour to an hour depending on the cooling settings of your fridge.
Just about five minutes before you want to serve the drink, boil half a cup of water and add the coffee powder to it to make the decoction.


 Now take out your blender jar, and simply dunk in your chilled milk, the decoction, three scoops of vanilla ice cream and give it a whizz.

Take out your glasses from the freezer.

Pour and top it with some cinnamon powder and cocoa powder. Serve!

Today's evening snack was cold coffee with zucchini-spinach fritters. The sweet-bitter-savory combo is a fab thing! Even if you do not have anything savory, serve the cold coffee with some cookies. It is really simple to make. Now your neighborhood cafe does not need to be your stop for cold coffee!


Wednesday, February 20, 2013

Healthy Snacking | Lunch Box Series

My parents leave home at regular government office timings. Living in a not-so-crowded place like Mysore, they can afford to dwell on the newspaper with a cup of tea and biscuits, then have a leisurely breakfast everyday. Yours truly is rushed most of the time, having to leave early to work. Does not mean i skip breakfast. I wonder how people sustain without it! There are so many people i know who do not eat a full breakfast. A cup of tea, a piece of cake, some fruit are some of the replies i get when i ask them what they normally eat before getting to work. I would feel really giddy and tired if i was in their place. Maybe my body is conditioned like that.
But the problem with eating an early breakfast is that at around 10 o clock, the stomach starts rumbling. In keeping with eating 6 small meals a day, it certainly is a good habit to feed the stomach something filling and healthy at that time, to sustain until lunch.
I normally carry cut fruits or some salad to munch on as a morning snack. It is loaded with fiber, is filling and loaded with nutrients! Here are some healthy snacking ideas. It will take you about ten minutes in the morning to put it together. Just make it a habit to soak pulses twice a week- green gram, channa, horse gram- anything that you like! Or else, buy lots of vegetables during the weekly grocery that are high in water content. It's that simple!


Diced english cucumber, red bell peppers, boiled sweet corn, coriander leaves with a lime juice +olive oil+salt+chili flakes dressing.


Go the South Indian way. Tadka of mustard, curry leaves, green chili and hing. Simply add pressure cooked sprouts with salt. Toss and carry. High on protein and great to taste!


Want to eat sprouts in a more healthy way? Have them raw. Make the salad interesting with cucumber, tomato, pomegranate, salt and pepper. Add a dash of lime to finish it off.
So you see, it is really simple to make something to carry along for that odd time hunger pang. Next time you feel like reaching out for that biscuit packet at the supermarket to carry as snack, stop yourself and try making something like this. Sure to save you some calories for the day! ;)

Notes:

Adding salt does make the veggies leave out water. So go slightly easy on the salt when carrying these for the box.

Wednesday, February 13, 2013

Mint Pasta | Lunch Box Series

So like i have written before, since pasta is simple to make and is packed with vegetables, good fat and flavors, it makes a weekly appearance in the lunch box. It is a one pot meal that i can never tire of. Each week it is a different shape and a different sauce.
This week, there was mint in the fridge, left over after making mint chutney. There was the spiralli pasta and some assorted vegetables.
Short of other ideas for the dabba, it was decided that the next day would be the "pasta day". I have never really put too much thought at the measures of ingredients that go into the pasta. It was a learning by trial and error and i continue to cook the same way. I tried to keep a track of what all goes in and in how much quantity in order to write out the recipe. Difficulty level is medium. Anybody who is quick with the knife and can taste and adjust flavors can make decent pasta! And trust me you, once you start making it by yourself, you would never shell out that crazy amount in the restaurants for a single serving of pasta!

Preparation Time: 20 Minutes
Cooking Time: 20 Minutes

Ingredients:

1 1/2 cups Pasta of your choice
Water to boil the pasta
2 tbsp olive oil
1/2 capsicum, finely chopped
5-6 baby corns, sliced into rounds
1 large carrot, cubed
Salt to taste
1 tbsp cream
1 tbsp cheese spread
1 tsp Pasta Seasoning/ Oregano

For the sauce:

3 large tomatoes
1/2 cup of mint leaves
5-6 pods of garlic
Salt and pepper to taste

Method: 

Bring a pot with sufficient water to boil. Add a tsp of salt and a tsp of oil to it. Into the boiling water, add the pasta. Cover, and cook.
On the side, chop and microwave the vegetables that need cooking- the carrot and baby corn here with some water and salt for two mins.

While they are cooking, place the ingredients for the sauce in a mixer and grind well.


Stir the pasta in between and keep checking to see if done. It should be cooked al dente. Takes about 10-15 minutes depending on the brand. Check the instructions on the pack to get a better idea.
Strain it through a colander. Save about half cup of pasta water. Now run cold water on the colander.

In a pan, heat some olive oil and add the chopped capsicum. Fry. By then, the vegetables should be done in the microwave. Add the veggies to the capsicum and stir.

Now add the prepared sauce into the vegetables. Cover and cook for a minute or two. Add the cream and the cheese. I used the Britania Mexican Chilly spread here. While adding salt in any step, be mindful of the salt in the cheese. You can add more cheese if you want a richer, creamier pasta.
Stir in the pasta into it and gently toss, without breaking the pasta.
Add the pasta water to get some more sauce into the pasta. You could add some skimmed milk too. Toss well.
Top with some oregano or the seasoning that comes along with the pizzas, in case you have any.
Serve hot, or pack it for the dabba. I like it both hot and cold!

Tuesday, February 12, 2013

Semolina Cake | Rava Cake

I have been doing baking for quite some time now. But almost always, something or the other is off. Most recipes that i refer do not mention if they have made it in a convection oven or the combination one that is the staple in most homes these days.
So its either a temperature issue- the top browning too quickly without the center cooking, or that the time taken varies, or finding that perfect substitute for eggs, or to measure exactly half of the 135 grams of flour that the original recipe calls for :). 
The rava cake is something that i have eaten  at a neighbor's party. The hostess gladly gave me the recipe. I religiously noted it down, only to find that most measures in the recipe are 3/4 cup measures. Since i wanted a smaller cake, i tried halving the quantity without much luck. The cake did not cook evenly, though it tasted great in parts that it had cooked. 
So after some more research for eggless versions of the Semolina Cake, i found the recipe on Bawarchi.

I halved the quantities, and got a decently good cake. So here goes my first "dessert baking" post.

Preparation Time: 10 Minutes
Baking Time: 25 Minutes

Dry Ingredients:

1/2 cup Rava/Semolina
1/4 cup wheat flour
1/4 cup all purpose flour
1/4 tsp Baking Soda
1/2 tsp Baking Powder
2 tbsp of dried coconut- chopped into small bits
1/2 cup powdered sugar 
2 pods cardamom, powdered

Wet Ingredients:

1/4 cup Yoghurt/curd
1/4 cup milk, additional if need be
1/4 cup neutral oil

Method:

In a mixing bowl, add all the dry ingredients. I did not really go through the drill of sieving, for want of time. 


Now whisk together the wet ingredients.


Start the oven and preheat it to 150 degrees. While it heats up, in a big bowl, add in the dry and wet ingredients little by little and whisk in one direction ( Don't ask me why, i saw Rachel Allen doing it :) ) 
Once they are completely mixed, adjust the consistency to pouring consistency by adding some extra milk if needed. Taste the batter and adjust the sugar. 

Grease and dust a 6" cake tin and pour. 

Bake for 20 minutes at 150. Check if done by inserting a toothpick. After 20 mins, crank up the heat to 160 and bake for another 5 mins. 

Remove and let it cool.


Transfer into a plate. 


Slice and serve, maybe with an icing sugar dusting if you like :)